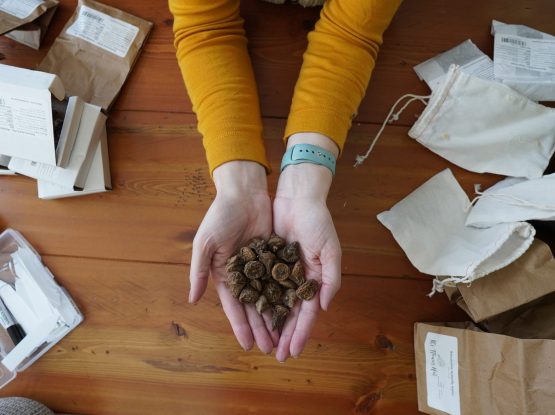
You can see all my 2023 Ranunculus and Anemones I am going to grow this year and how I start them with the pre-sprouting process.
Why do you want to grow spring corms?
Ranunculus and anemones are the first multi-stem flowers growing in my garden in spring. In addition, they have a great vase life of around 10 days. And did I mention that they come in the most beautiful shapes and colors?
This is my second year growing them and I learned a couple things from my first try:
- Plant them out as early as possible. Ideally when the soil is workable and night temps don't dip below 27F anymore, should be fine for them. In my zone 6 here, this is around being of April.
- Bunnies love the fresh green spring sprouts: Protect them!
What varieties I am growing?
For my 2023 garden, I went big on ranunculus and anemone varieties as I want to have cut flowers early in the season. My goal is to have cutflowers by Mother's Day. That might be a stretch, but I am here for an ambitious goal. 😉
1. Classic Ranunculus Varieties
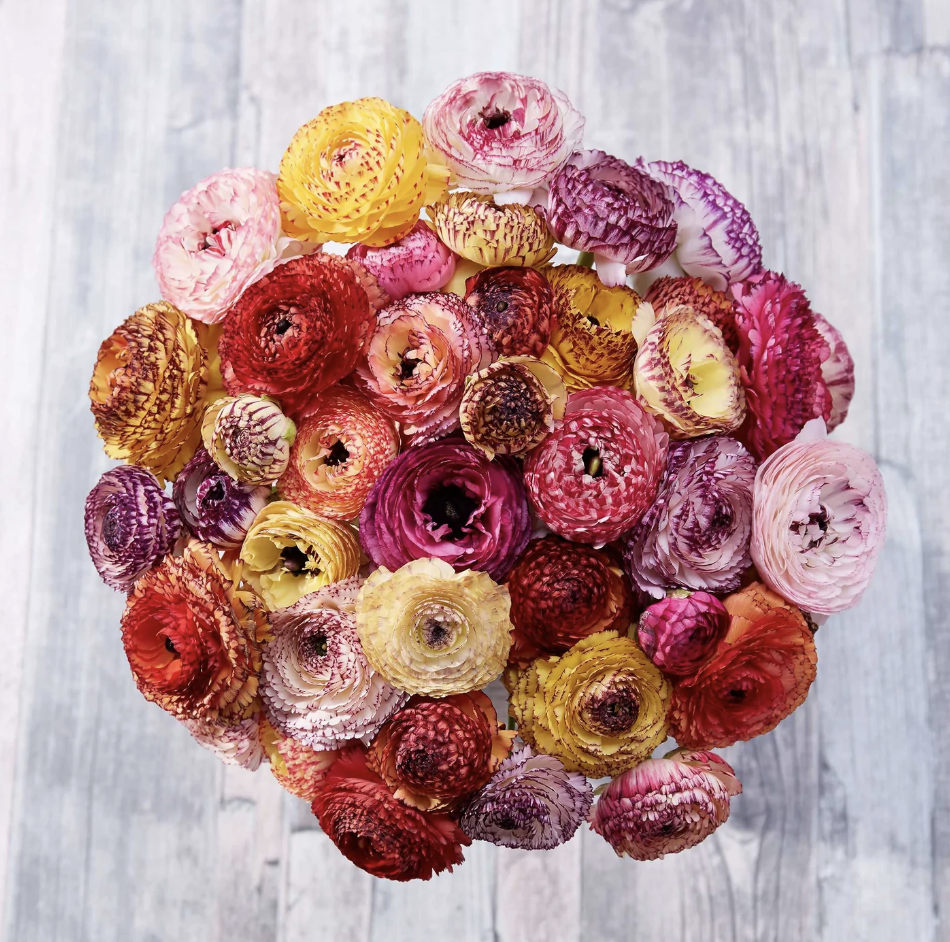
Here are all my ranunculus varieties and where I got ordered them from (not sponsored):
- Chamallow: One of popular varieties which sell out FAST. Make sure you sign up for the notification when they are back in stock.
- Picotee Mix: This variety is a return from last year and despite the high temps it still bloomed.
- Amandine Salmon: I grew this type last year as well, it didn't fair as well as the Picotee Mix in the hot temp, but I learned my lesson and going to plant them earlier this year. The few blooms I got were stunning though, so I really want to give them another shot.
- Wedding Pastels: What should I say, I am a sucker for any pastel mix. I just love it!
2. Butterfly Ranunculus
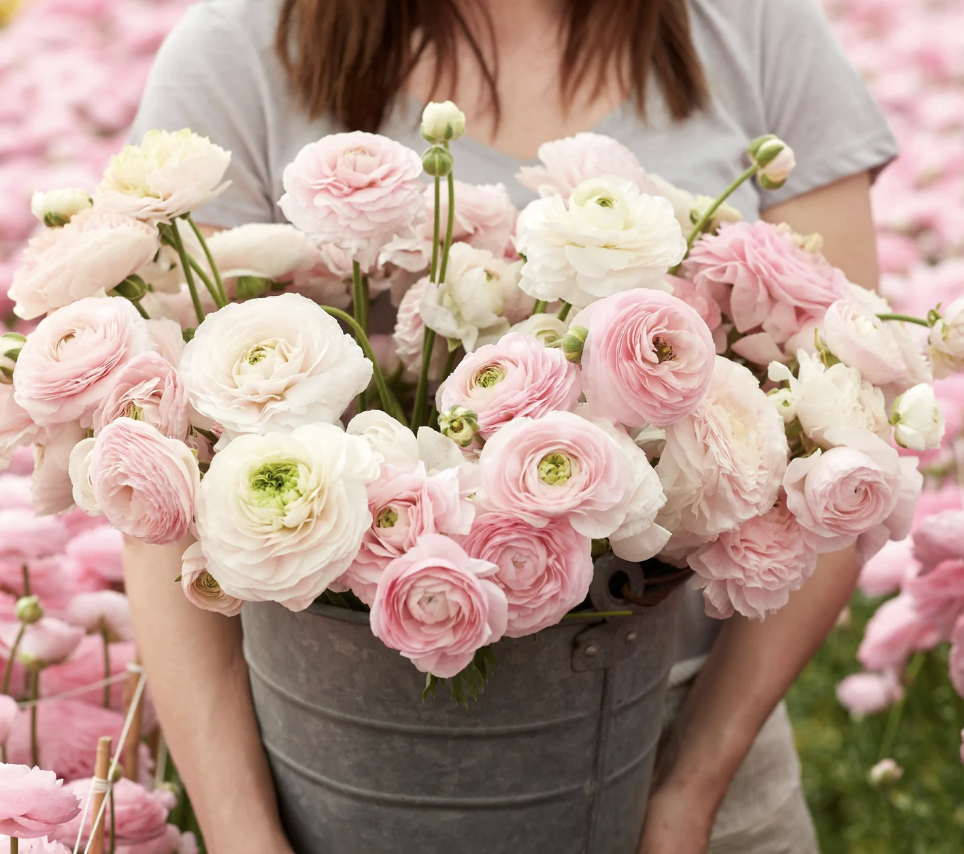
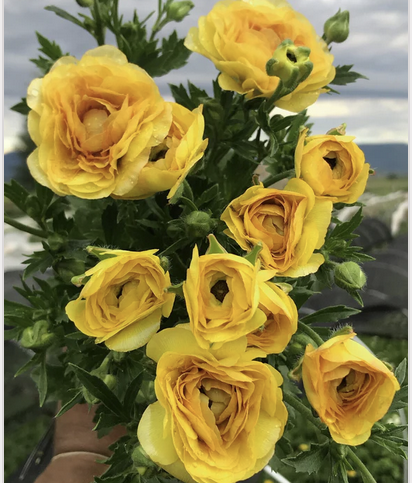
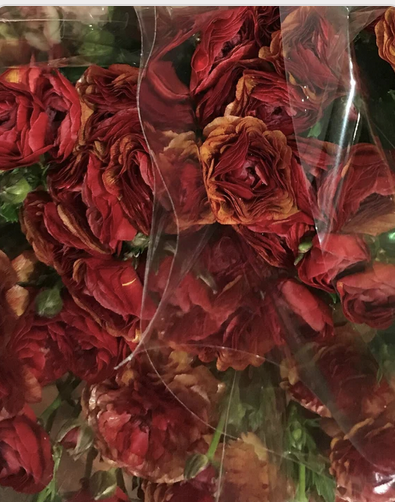
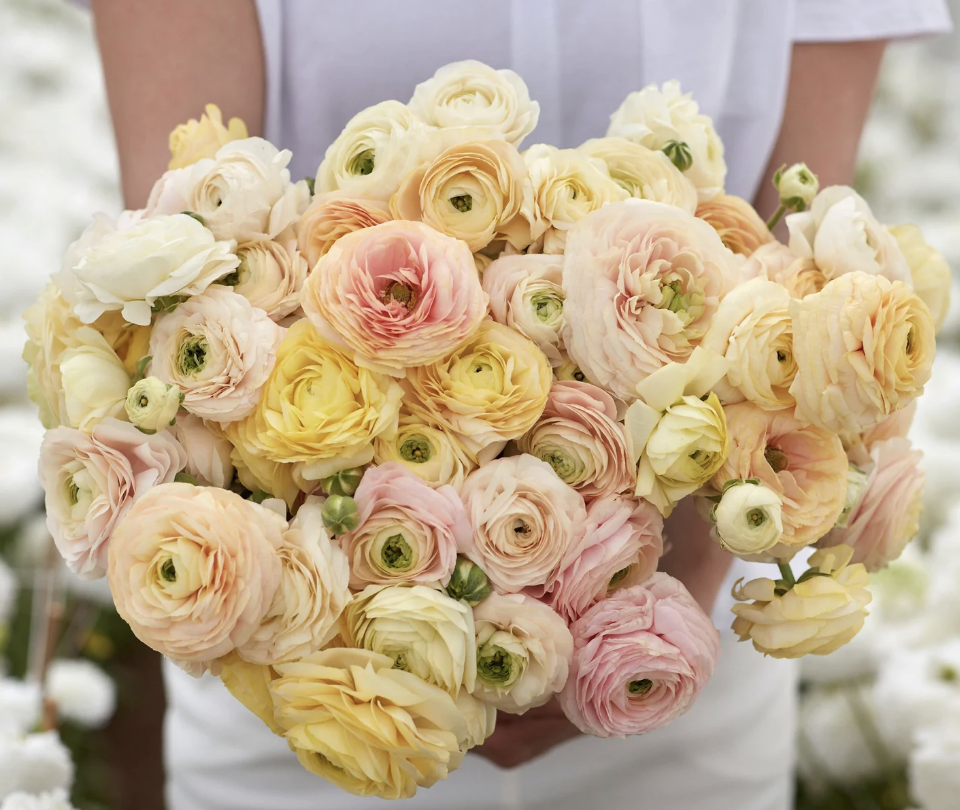
The next few varieties are a special type: Butterfly Ranunculus. The price tag on these beauties is a splurge. They cost 4x as much as the classic varieties. What makes them so special? They have a more open bloom habit which looks stunning and holds up equally well in the vase and they come in gorgeous colors.
Butterfly ranunculus are a rather new type and don't have many corms available on the market, hence the expensive price tag. Important to know: I bought these corms at the fall corms and bulb sale, from The Flower Hat, so I don't have any active links for you. I recommend to sign up for Julio's (aka the Flower Hat) newsletter, so you don't miss the next drop. I picked the following varities:
- Hades: This color is a stunner and is going to mix well with my peachy, salmony and white spring colors to provide some moodiness to the bouquets.
- Phytalos: I am usually not a big fan for yellow, but I make an exception in Spring. It just feels right this time of the year.
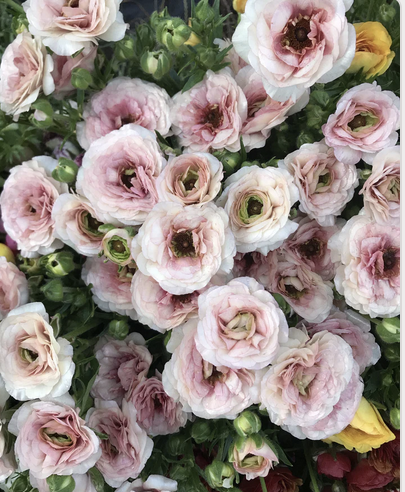
- Ariadne: I mean, just look at them in the gallery. No words needed for this beauty!

3. Anemones
Last year, I only had 2 varieties which were approx. 40 corms in total to try them out and see how I like them. During the pre-sprouting process I learned that anemone corms are a delicacy for mice, which we happened to have in the basement at the time. They ate all but 2 corms, but those 2 plants were that pretty that I went big on them this spring as well. Make sure you have check for mice before you start the pre-sprouting process. 😉
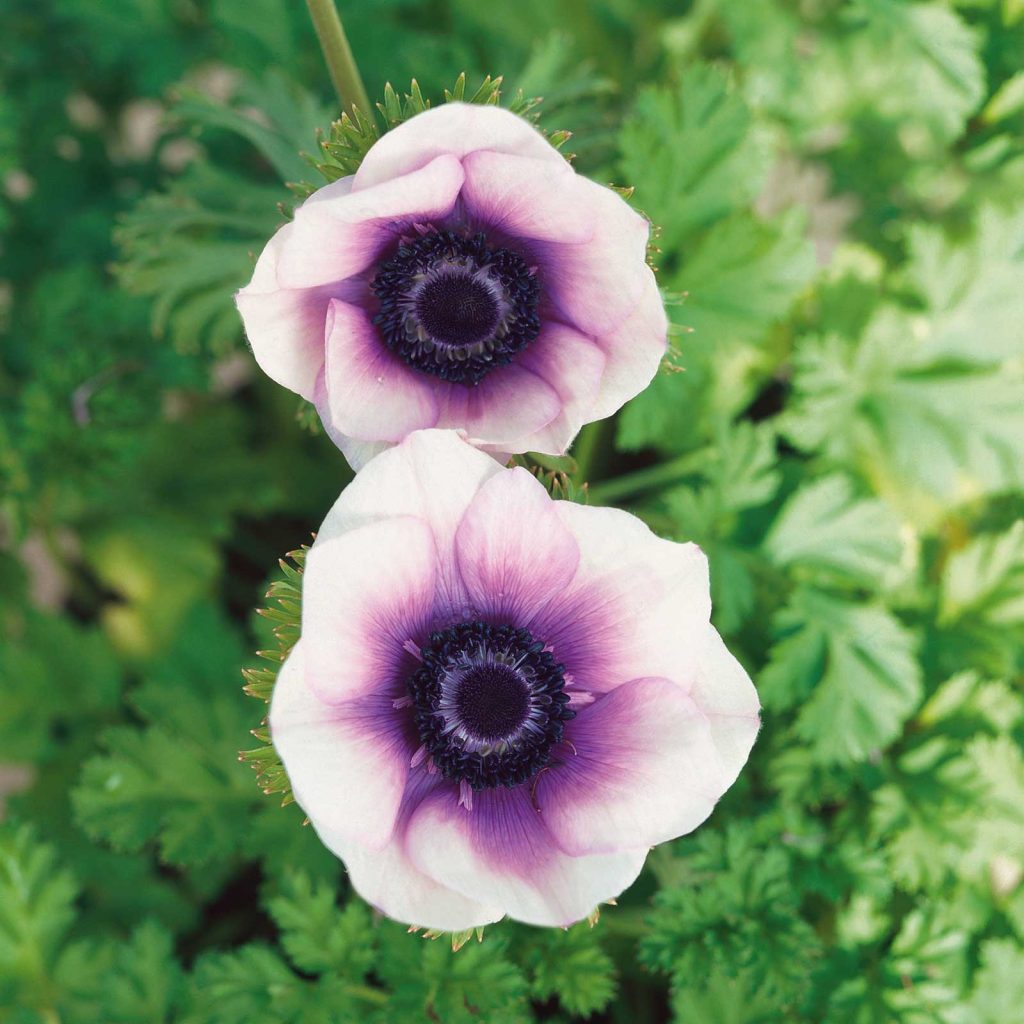
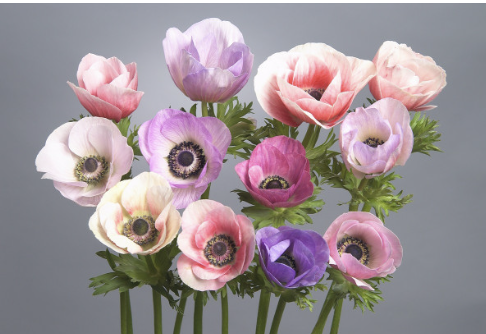
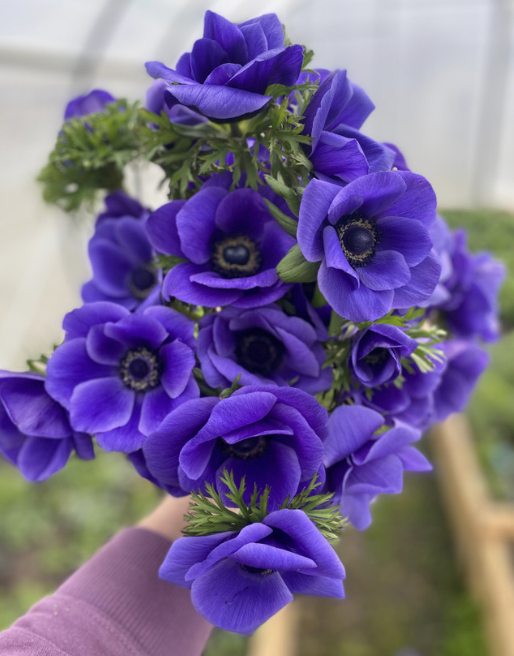
- Pastel Violet: Can you imagine these ones with the Ariadne Butterfly ranunculus?
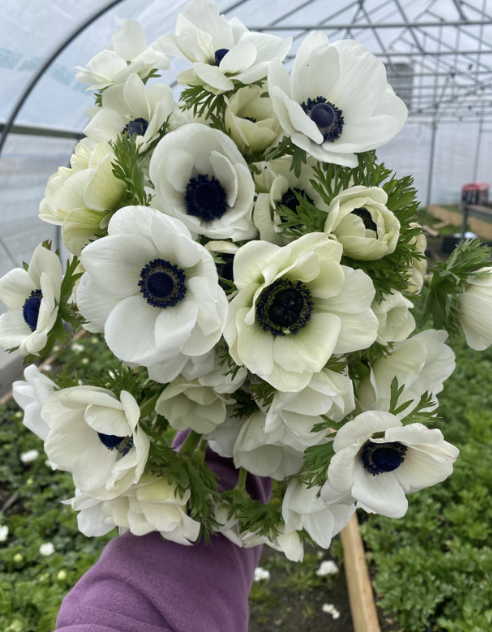
- De Caen White: I love white blooms with green accents. These will mix well with all colors.
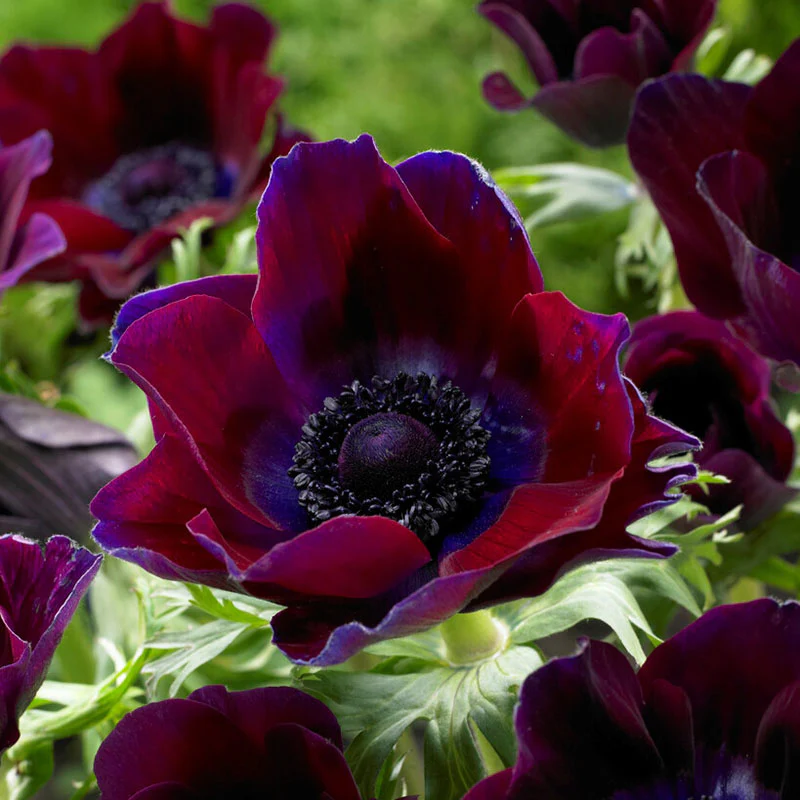
- Bordeaux: The intensity of the color draw me to this variety. I hope it will look great together with some of the pastels.
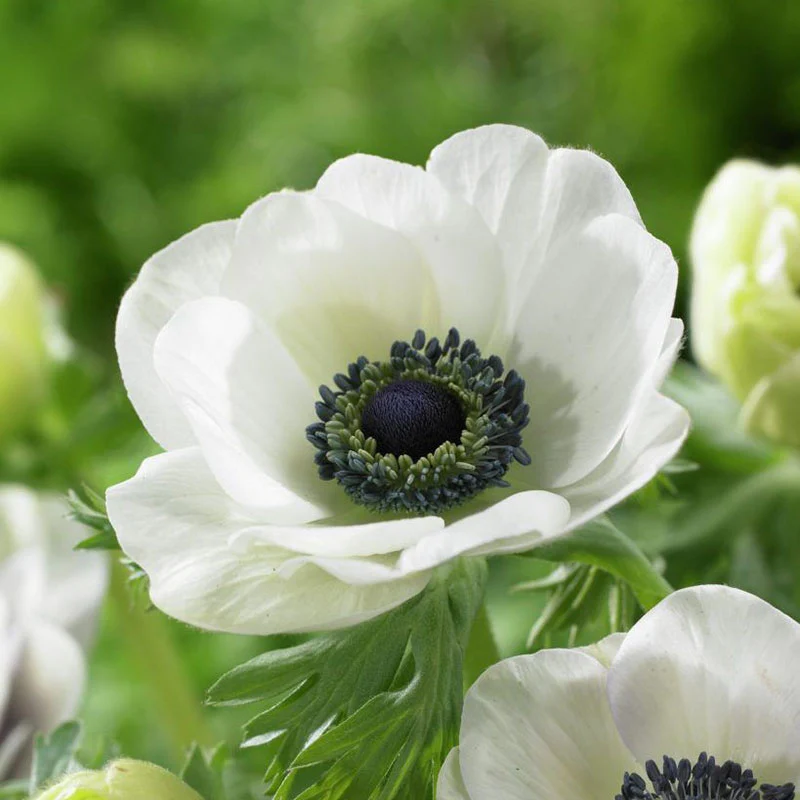
- White: You can never have enough white blooms. And these are special with the black center.
- Pastel Mix: I made my point earlier for pastels. Can't live without them.
- Blue: There aren't many plants who can produce a true blue bloom and I love the color combo of blue and yellow.
Pre-Sprouting Process
When you buy ranunculus and anemone varieties, they come as little dormant corms and look pretty much like they are dead. Ranunculus look like little tiny octopus and anemones looks like shriveled old nuts. They need a bath to wake them up again, which is called pre-soaking.
Materials needed for pre-soaking:
(This list contains affiliate links that help support my content creation efforts. I greatly appreciate your support)
- Aquarium Aerator: This provides the aeration for the duration of the pre-soak
- Trays: 2.5" deep 1020 trays which don't have holes.
- Labels: Don't forget to label your different soaking container
- Marker: These markers are waterproof and don't fade outside
- Potting Soil
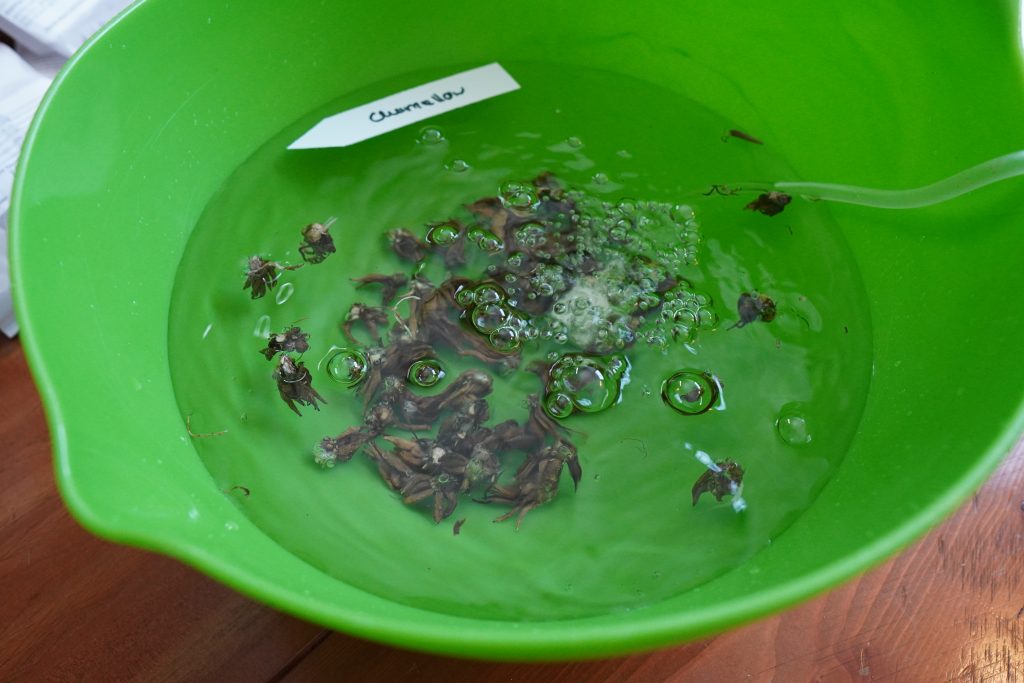
How to soak corms?
Only soak them for maximum 4 hrs otherwise you risk rotting. I usually set a timer for 3 hrs, so in case I get distracted, I have a little bit of buffer. It is important to provide them with frequent water movement, as this prevents bacteria from building up around the corms, which than lead up to rot as well. I use an aquarium aerator to provide water movement.
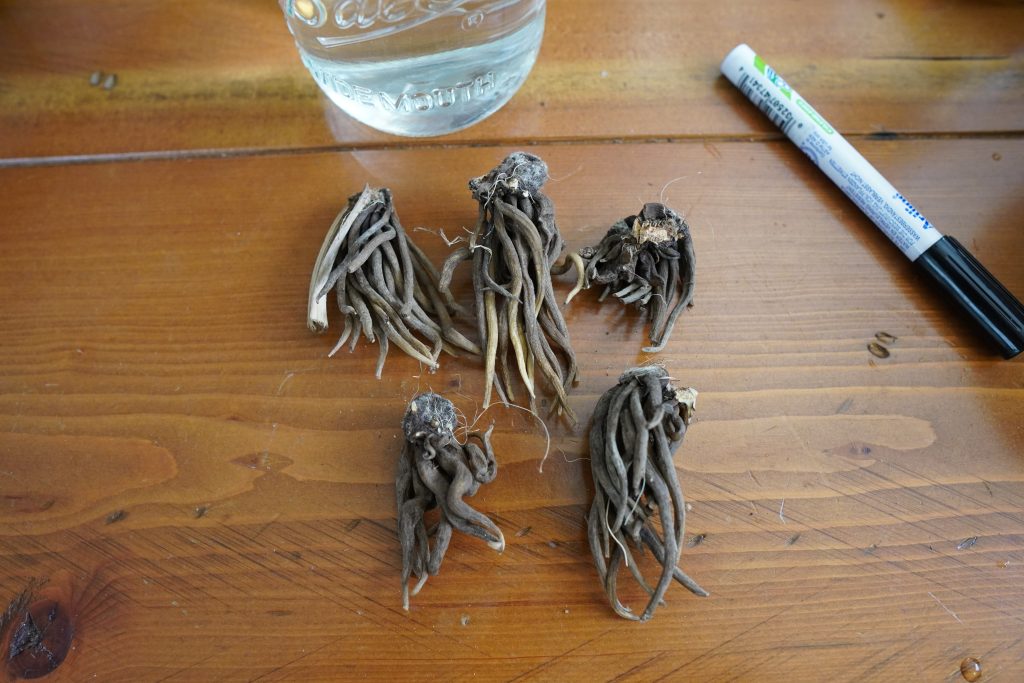
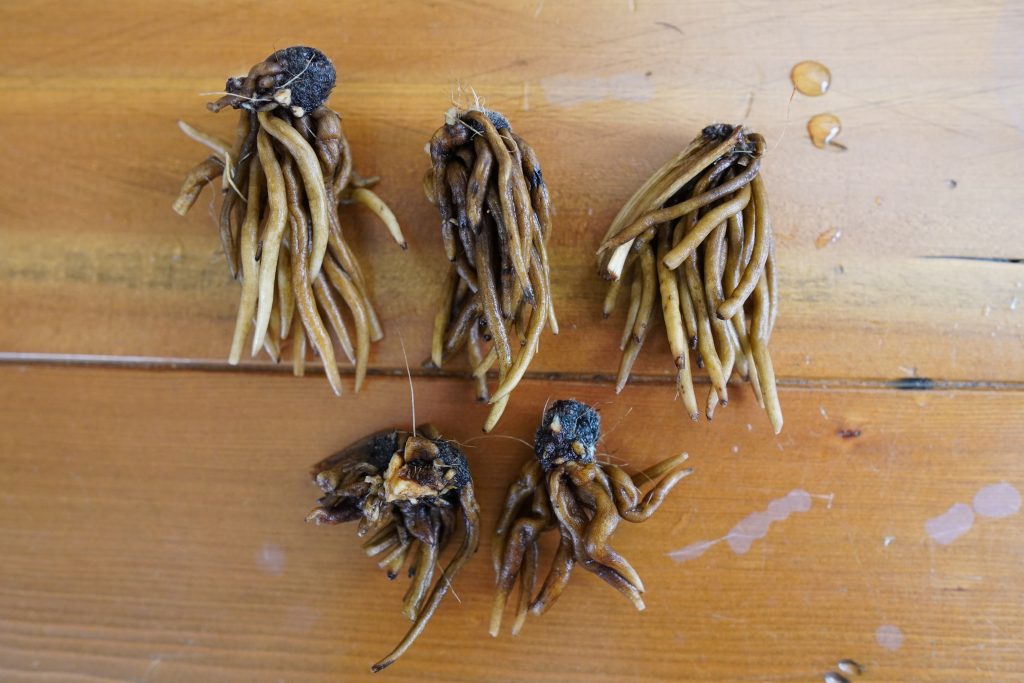
When the corms are soaked, they are ready to be put into the potting tray. Fill up the 1020-tray with pre-moistened potting soil. It should be moist to touch, but not wet. Otherwise your corms are going to rot away.
Pre-sprouting Trays
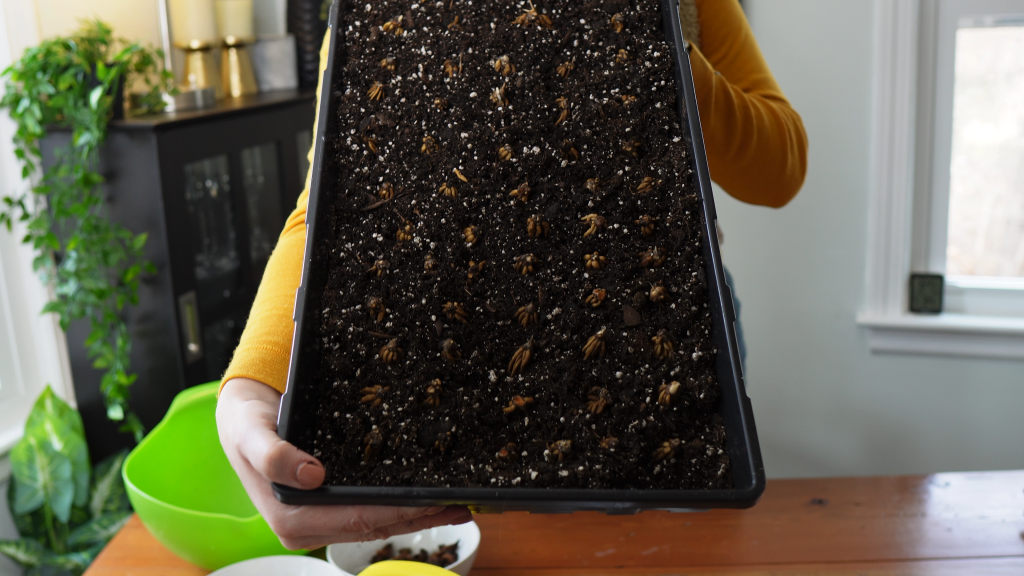
Now you can place the corms in the prepared tray. The ranunculus corms are placed tentacles facing down and the anemones corms are placed with the point side up. You can position them fairly close together as this isn't the tray where they are growing for long. We only want to give them a kickstart and start the root development.
This is what the tray should look like when you are done placing the corms:
Important:
In case you find any corms which feel squishy and soft, discard them straight away. They will only rot and mold in your tray and potential spread the mold to other
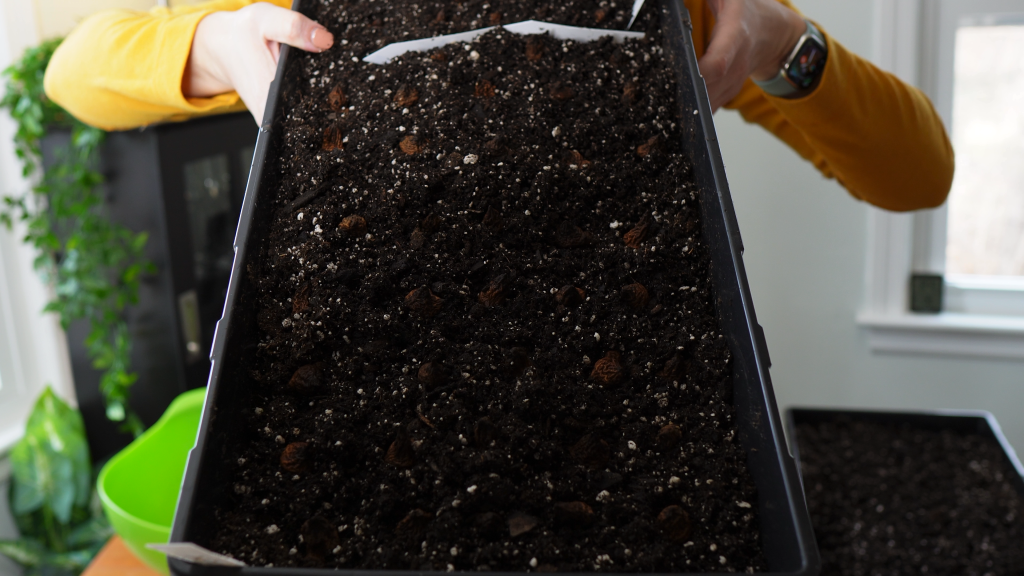
Finish up the trays
Now you are going to top off the trays with another layer of lightly moistened potting soil. Place the tray in a dark and chilly (50-60F is ideal) location and check every few days the moisture level. In 7-10 days you should see some sprouts coming up and are able to plant them outside. I am going to cover this in a different post in a few weeks.
You are looking for more?
Check out my youtube video and you might be also interested to learn more about soil blocking.

