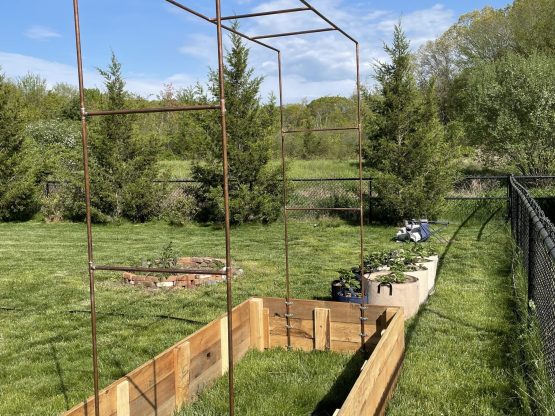
When I started gardening, I was always on the lookout for a trellis system which was both: functional as well as beautiful. Another important criteria was that it had to be strong enough to withstand our high winds in the late Summer months. After we couldn't find anything that worked for our requirements, we sat out to design & our own copper trellis system.
1. Why a copper based trellis?
Copper is unfortunately not the cheapest material anymore, but it is strong, while being lean and beautiful. It is also holding up well against our harsh New England weather and is a long lasting option.
And what should I say, I am a sucker for an aged copper look.
2. Materials necessary
Here is the list of materials you need:
- Copper Pipe - (M-Style): 9 x 10ft, 1/2"diameter
- Copper Fittings: 15 1/2" Tee-fittings, 4 1/2" Elbow fitting
- Copper Pipe Cutter
- Scouring Pads
- Solder Wire
- Solder Paste
- Brushes
- Gloves
- Torch
(This list contains affiliate links. Thank you for supporting my content creation efforts)
3. Instructions
The trellis is constructed in 3 part: The 2 side elements and the top element.
Step 1: Cut the copper pieces
For the side elements you need to cut the following pieces:
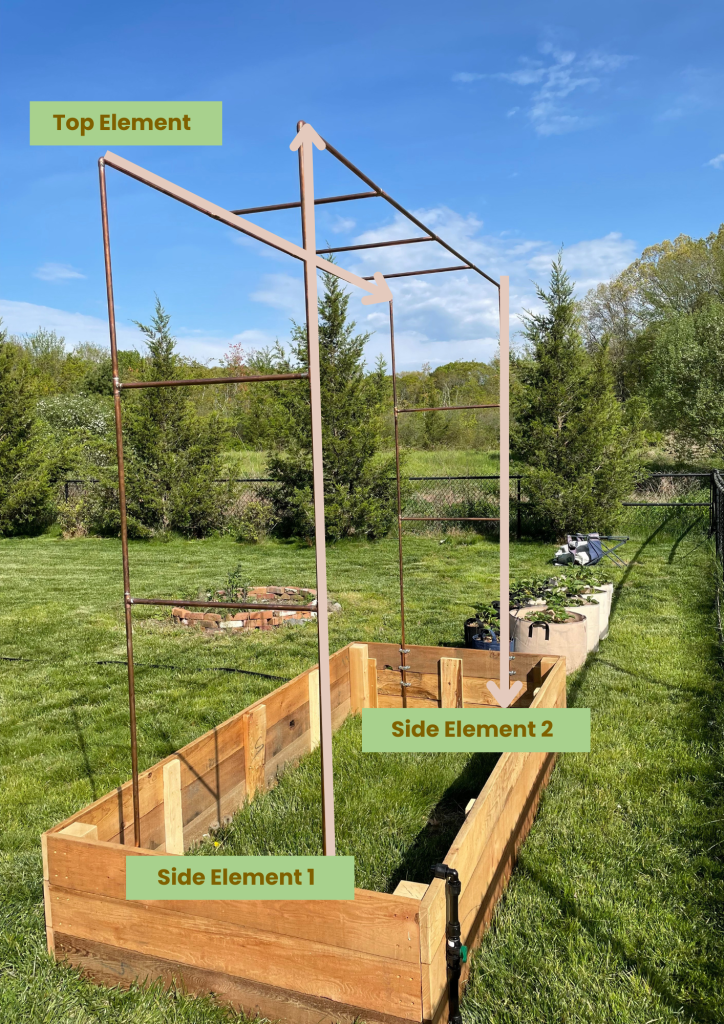
Left side element: 6 x 24" and 2 x 44" ,
Right side element: 6 x 24" and 2 x 44"
Top element: 3x 24" and 8x 23"
These measurements are for a garden bed which measures on the inside 92 1/2" long and 48" wide. If your size is different make sure that your top element is 1" shorter than the overall length to account for the elbow pieces. Otherwise the trellis won't be perpendicular and won't hold up well.
Step 2: Clean the connections
Take one element at a time, starting with the side elements. Start with the 2 bottom pieces which are 44" long and clean with the scouring pad the top of pipe where the tee-fitting is going to sit. This step is important to ensure proper solder adhesion later. Take a short 24" piece, which is the first cross bar and also clean the ends with the scouring pad. Check if the pipes and the tee fitting fit together properly for the first connection. Clean them more, if they don't come together smoothly.
Step 3: Solder the pieces in place
Once the connections are all clean and have been tested with the tee-fittings, it is time to add the solder paste: Take off the tee-fitting, use one of the brushes to cover the area where the tee-fitting sits on. The solder paste ensures that the solder is going to be sucked into the fitting joint for maximum adhesion and maximum connection. I recommend to go 2 pipe pieces and one cross bar at a time. Make sure you wear personal protection gear and know how to operate a blow torch!
Add the Tee fitting back over the pipe with the solder paste, connect the crossbar. Make sure you have the piece placed securely on a stand, where you can heat them up. Once it is hot, you bring the solder wire to the joint connection. It will melt and the liquid solder is going to disappear in the joint. Make sure you go around the full joint. Be careful touching the copper trellis afterwards. It holds the temperature longer than you would expect.
This is how you go along and assemble all pieces. Always make sure the pieces are properly straight and aligned, once soldered together you can't change it anymore.
Step 4: Assemble the pieces
Once you have the elements ready, you can bring them to your garden bed and start aligning them. Once aligned you can solder the elbow connections in, so the trellis is now fully assembled. We used some pipe clamps to attach the trellis to the inside of our beds .
Step 5: Install the Middle Support
We cut a Tee fitting on the top open, so we were able to bend it open and around the middle cross bar of the trellis. We added a full 10 ft pipe as middle support and soldered everything in place. If you don't have the tools to cut open a tee fitting on the top, you can also just cut the middle cross bar in half, take off an inch to make space for the fitting and solder the tee fitting in place like you assembled all the other pieces.
The trellis will need a middle support for most sizable beds. Again, you want it to last a long time.
The Grain of Salt
Make sure you measure the inside of your beds properly and adjust the measurements of the trellis accordingly. This trellis needs to be build perpendicular to be able to hold the wait properly and to have structural integrity.
4. How to use the trellis
With the position of the bars going over the bed there are many different configurations you can use this trellis. :
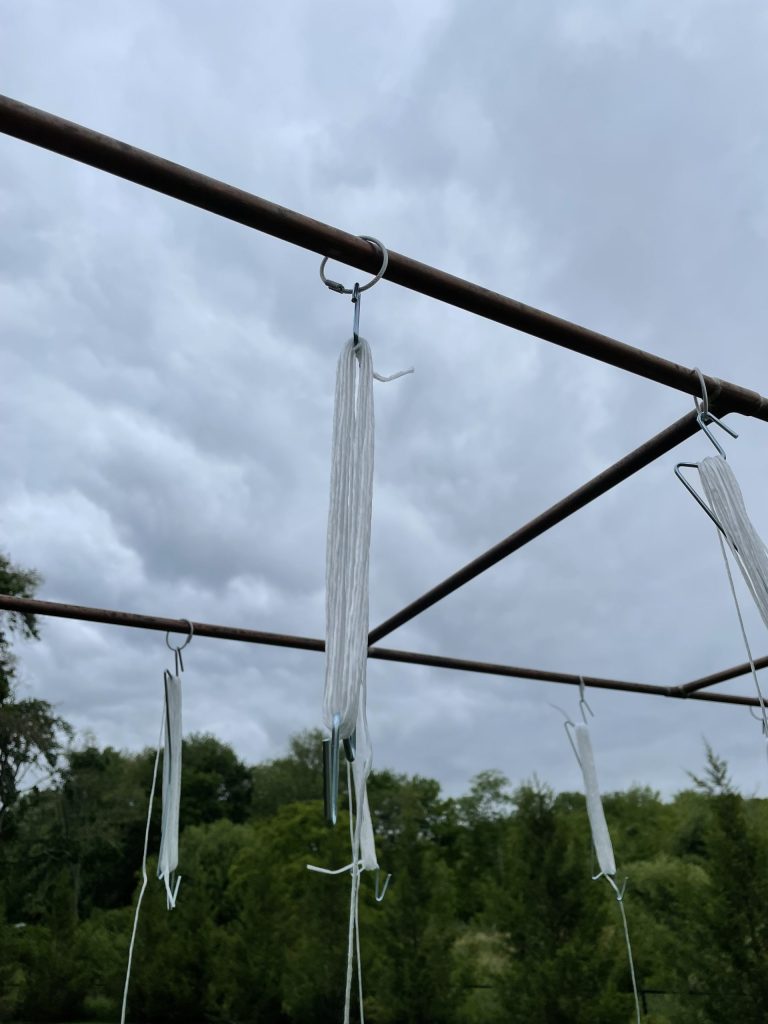
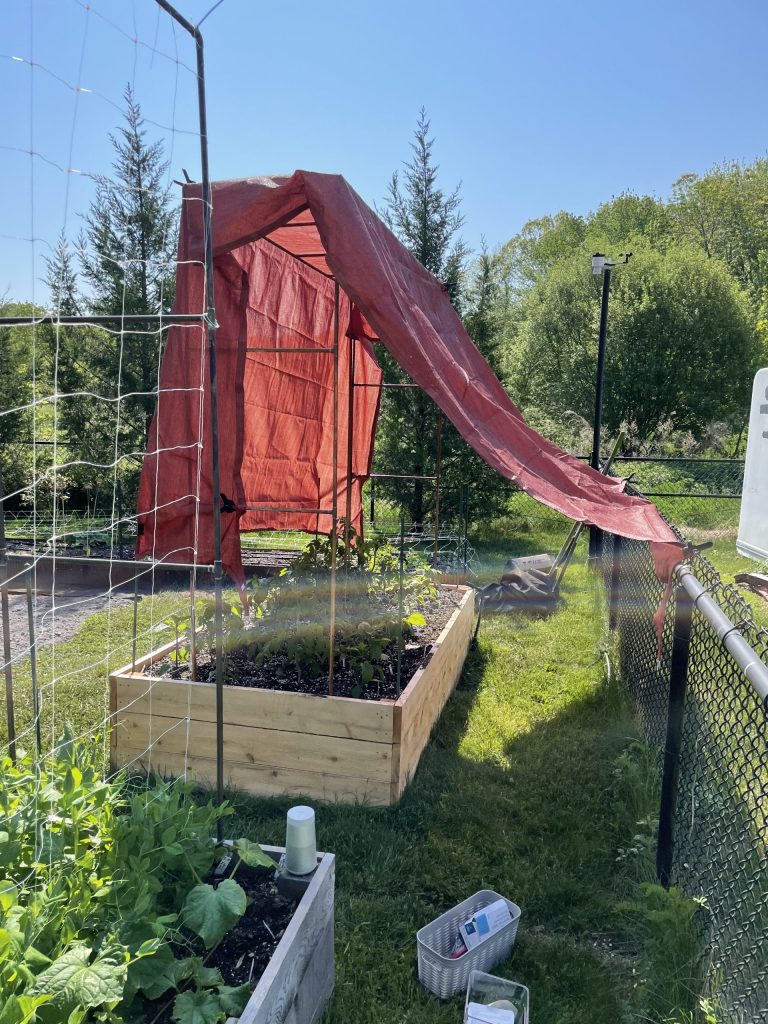
For my indeterminate tomatoes, I love the lower and lean trellis. It is important to prune the tomatoes on only one leader to climb up the string, so it takes a bit of pruning. We created aircraft wire rings, where the tomato hooks connect.
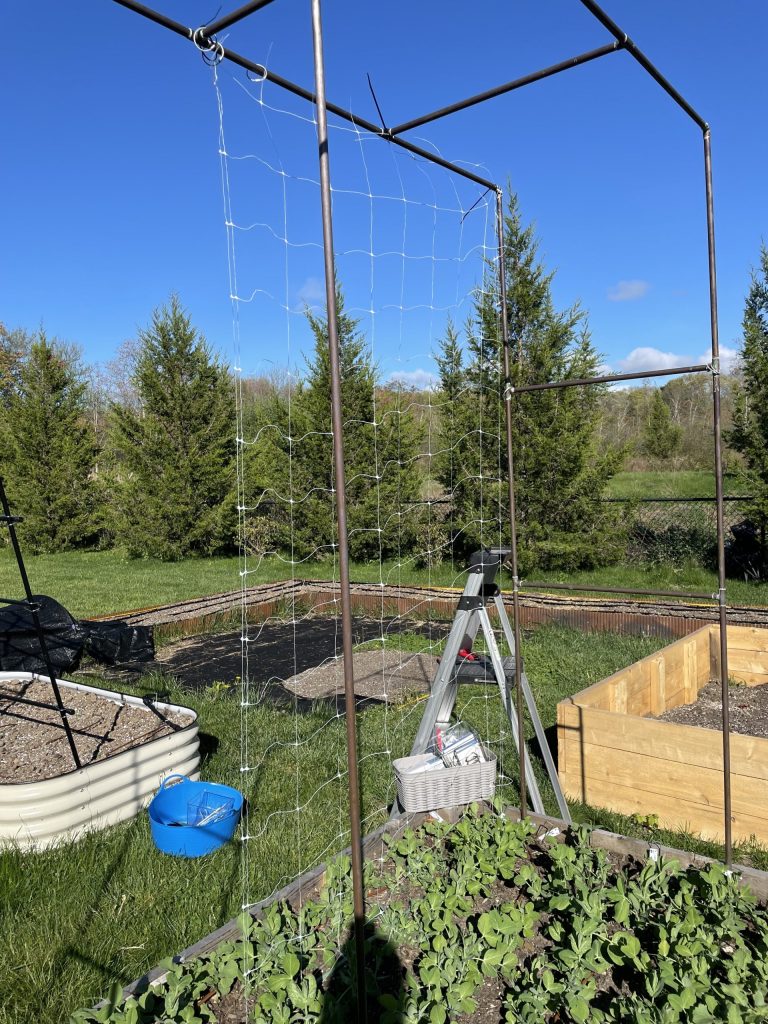
For my vining crops like peas, cucumbers and squash, I attach Horta Nova Netting vertically at the trellis, so they can climb up there.
And lastly, in case the plants need extra protection it is very easy to put a shade cloth over it for added protection.
Let me know if you have any questions.
You can also check out my youtube-video to see in detail how we have build it. And don't forget to check out my Irrigation Blog post to learn all about how to irrigate your garden easy and flexible.

